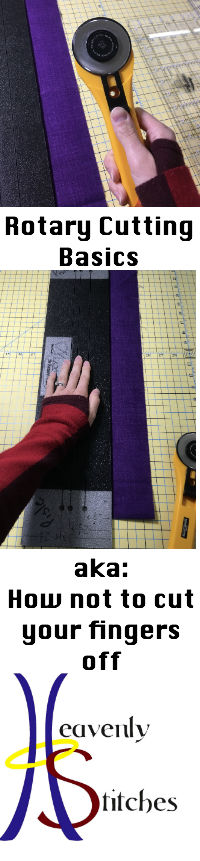
One of the most essential tools in any Quilter’s (or Sewist’s) toolbox is a rotary cutter. They come in an astonishing array of sizes, configurations, and colors. Most are measured by millimeters with 28mm, 45mm, and 60mm being very common. They have all sorts of bells and whistles as well. Some come with an automatic blade cover. Others a squeezy one or a manual. There’s at least one model out there that has a spring on the blade cover. No matter what, the blade cover is essential. Rotary cutters are basically a round razor blade. They are much, much sharper than standard scissors. When replacing an old blade on a shop cutter I managed to tap my palm with the new blade. I immediately started bleeding. There wasn’t any pressure behind the tap, the blades are just that sharp.
This leads me to my first point about rotary cutters. Cover your blade whenever you’re not actively using it. Don’t uncover it, use it, and set it down. Don’t uncover it and gesticulate while talking with friends. You wouldn’t do that with a straight razor, don’t do it with a round one.
Second point, the blades are actually fairly delicate. You should try very hard not to drop the blade. It’s one of the most common ways to get a ding in it and very frustrating. A blade with a ding will cut most of your fabric. Unfortunately, it will leave one or two threads still attached at every rotation of the blade. If you’re cutting small squares, it may not make much of a difference, but if you’re doing lots of 2.5″ strips, you’ll have to go back and recut lots of little threads. It’s also a good idea to not run over pins with your blade (but that’s just common sense). Lastly, never, ever, cut paper with a blade you intend to use on fabric again. Just like you wouldn’t cut paper with your good fabric shears, don’t do it with your rotary. They get dull super fast and blades are expensive!
On to how to cut with a rotary blade! You’re going to need a straight edge. It can be a ruler, a t-square, an unmarked chunk of foam and plastic. Just so long as it’s straight and big enough to keep your fingers safe.
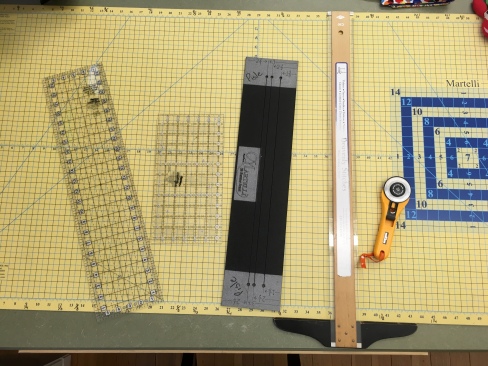
There are several ways to measure your fabric to cut.
You can use your straight edge (here it’s the t-square) and the lines on your mat. Be aware that sometimes the mats aren’t printed exactly right. If you’re going to use them, I would double check their accuracy with a reputable ruler of some sort (Creative Grids is a good, reliable brand that I recommend and sell in my shop). Also, you should stick with just one measuring tool (be it mat or ruler) for your project. The different products can vary slightly and it can be enough to throw off your accuracy, making piecing more difficult.

You can use a long ruler (for those width of fabric (WOF) cuts).

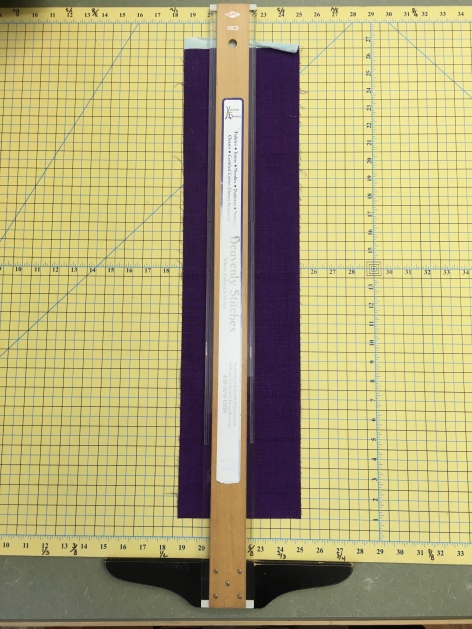
Personally I prefer to use a straight edge and a second (shorter) ruler. You will need to line up the edge of your fabric with the lines on your ruler (I’m cutting a 2.5″ strip here), being sure to align both the top and bottom of the ruler. This helps make sure your fabric is straight and your strip is as well.

Once you have aligned the top and the bottom of the ruler, place your straight edge directly against the ruler edge.

Remove the ruler.

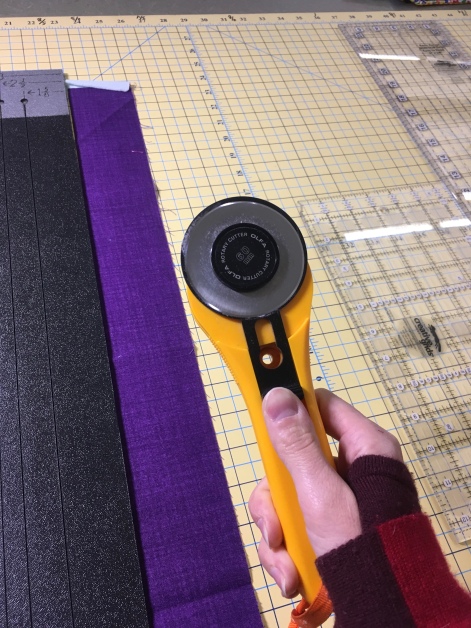
Place your hand on the straight edge. Keep your fingers well back from the edge. There are lots of pictures on a Google image search for rotary cutter injuries. They’re gnarly and typically require stitches. Be aware of where your fingers are!

Start with your blade off the fabric, apply a steady downward pressure (like Goldilocks, not too hard, not too soft), and roll forward. You may need to move your hand. Don’t worry if you do. Just stop the blade. Lift your had directly up and place it higher up on the ruler, trying hard not shift anything. Once your hand is down again (with your fingers back) you can resume cutting. Eventually, you will be able to make an entire WOF cut with one smooth stroke.

Cover your blade.

If your blade is nick-free your strip will be completely detached from your original fabric piece!

Please, please, please do not use your open blade to slide the fabric over. By doing this you chance not only cutting your fabric, but dulling or nicking your blade.

A few other good points:
- Be sure to bring your own cutter (and ruler) to class. Some shops may have cutting mats, but you may need to bring your own. Call first and ask if you’re not sure.
- If you go to classes, put your name on things! Make sure someone at the shop has your phone number. So when you forget something, they can call you (we do it all the time).
- Old blades can be reused for scrap booking or other paper crafts. Just make sure you mark the blade so you don’t try and use it for fabric again.
- If you’re interested in a t-square, we sell them here at the shop. Find them here.